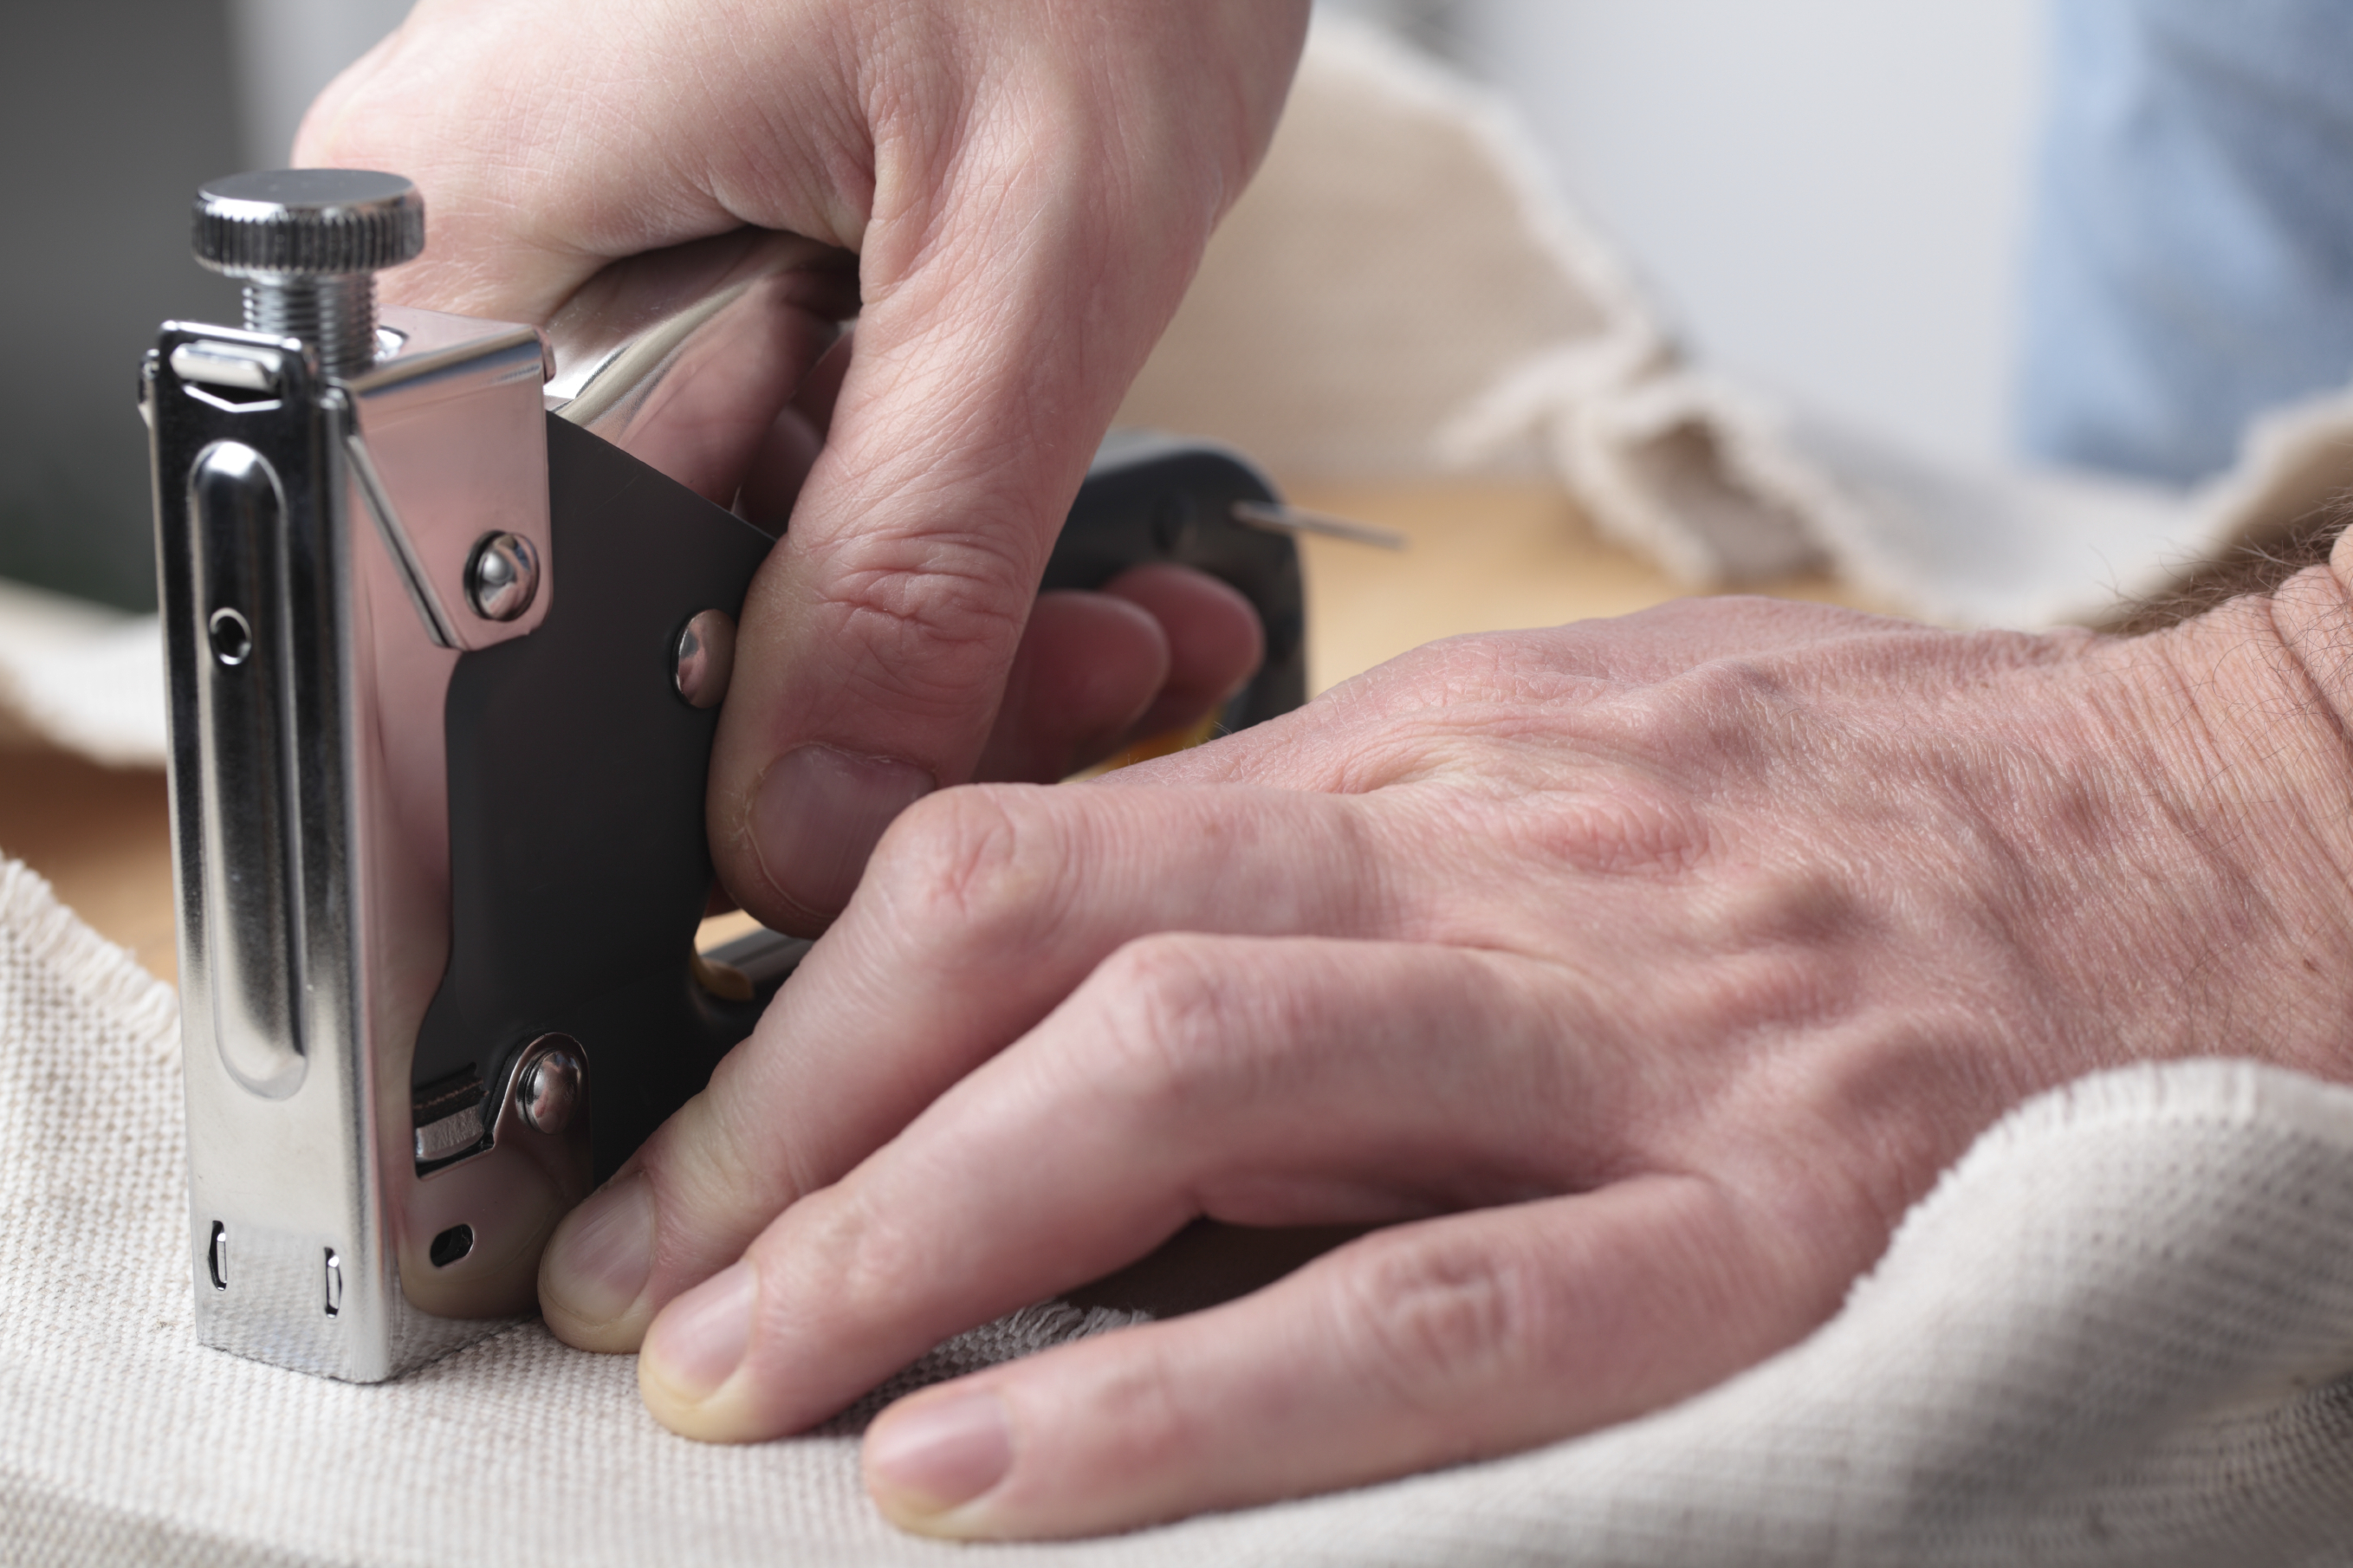
DIY projects are a great way to take an old piece of furniture and give it life. Take a look around your home, is there anything that looks like it needs a little tender love and care. It’s also a lot of fun to purchase a used chair and reupholster the cushion. You can start by browsing through the classified section on yallalist, right from your computer. When you are looking for a chair, just make sure the wood frame is in good condition. The fabric is going to be replaced, so it really does not matter what or how the fabric looks.
Supplies Needed to Reupholster a Chair:
- Needle-nose pliers
- Marking pen
- Scissors
- Staple gun and staples, 3/8- or 5⁄16-inch
- ½-inch batting
- Upholstery fabric (about 5 yards depending on the chair)
- Straight pins
- Fabric glue, optional
- Black breathable fabric (for underside of chair)
Let’s Begin:
- Step 1: Start removing the fabric and old batting that is on the chair. The needle-nose pliers will help remove and nails or staples that are holding the fabric down. TIP: Take notes or pictures of where and how the current fabric is applied to the chair. You can also use this fabric as a template to the size and shape your new fabric.
- Step 2: Cut and add the new batting to the chair by using the staple gun.
- Step 3: Layout the new fabric. Use the old fabric as your template. Add an additional 2″ of fabric around the outer edge, this will be trimmed at the end. Use the pins to keep the fabric in place when cutting. TIP: If you are using a patterned fabric keep in mind where you want the design to start and stop.
- Step 4: Place the fabric on the chair and start stapling. Keep fabric taut and smooth when stapling. Trim excess fabric.
- Step 5: Flip the chair over and cover the backside of the chair with the black breathable fabric, that will hide the staples.
- Step 6: YAY! You are finished. Enjoy your new DIY reupholstered chair.
